
A relaxing body massage can do wonders for your body and mind. But, sometimes we don’t have the time or budget for a professional massage. The good news is that you don’t have to leave your home to enjoy a rejuvenating massage experience. In this step-by-step guide, we’ll show you how to do a body massage at home by yourself. Whether you’re trying to release tension, improve circulation, or simply treat yourself to a relaxing experience, this guide will walk you through everything you need to know to give yourself the ultimate massage at home.
Why Should You Try a Massage at Home?
Before we dive into the steps, you might be wondering why you should try a massage at home in the first place. Well, here’s why:
- Convenience: You can do it anytime, in the comfort of your own home, without having to book an appointment.
- Cost-effective: Professional massages can get expensive, but a DIY home massage is easy on the wallet.
- Self-care: Doing a massage at home can be a great way to unwind and give yourself a little “me-time” after a long day.
Step 1: Set the Right Atmosphere
Creating the right environment is key to enjoying your DIY massage. Here’s how to set the mood:
- Lighting: Dim the lights or use candles to create a calming ambiance.
- Music: Play soft, calming music to enhance the experience. You can also try nature sounds or relaxing instrumental tracks.
- Essential oils: Using essential oils like lavender or eucalyptus can help you relax. Add a few drops to a diffuser or mix them with your massage oil.
- Comfort: Make sure you’re comfortable. Use pillows or cushions to support yourself, especially if you’re working on your back or shoulders.
Step 2: Choose Your Massage Oil or Lotion
Massage oils or lotions can help reduce friction and make your hands glide smoothly over your skin. Here are some options:
- Coconut oil: Great for moisturizing and has a pleasant scent.
- Jojoba oil: A lightweight, non-greasy option.
- Lavender oil: Known for its calming properties, it’s perfect for relaxation.
- Aloe vera gel: If you’re looking for something refreshing and soothing.
Make sure to use a generous amount to avoid your hands dragging on your skin.
Step 3: Start with Your Neck and Shoulders
Your neck and shoulders carry a lot of tension, so it’s best to start here. Here’s how:
- Find a comfortable position: Sit up straight or lie down with your head propped up with a pillow.
- Use your fingertips to knead your neck muscles: Apply gentle pressure and move in small circular motions, focusing on the areas that feel tight.
- Move to your shoulders: Use the palms of your hands to massage your shoulder blades. You can also use your thumbs to apply pressure to any knots you feel.
Pro Tip: If you have a partner, they can help you with this part for a deeper, more thorough massage.
Step 4: Work on Your Back
Your back is a big area to cover, but don’t worry! Here’s how to make it manageable:
- Get into a comfortable position: You can either sit on the floor or lie down.
- Start at the base of your spine: Use your thumbs or palms to massage your lower back in circular motions.
- Move upwards: Gradually work your way up to the middle and upper back, using long strokes with your palms.
- Use a foam roller (optional): If you have a foam roller, you can use it to help release muscle tension in your back.
Pro Tip: If you feel any knots or areas of tension, spend extra time on them to release the tightness.
Step 5: Massage Your Arms and Hands
After your back, it’s time to work on your arms and hands. Here’s how:
- Start with your forearms: Use both hands to massage your forearms in long, smooth strokes.
- Move to your hands: Gently massage your palms using your thumbs in circular motions. Don’t forget your fingers — give them a little squeeze to relieve tension.
- Focus on your wrists: You can also massage your wrists, especially if you spend a lot of time typing or using a phone.
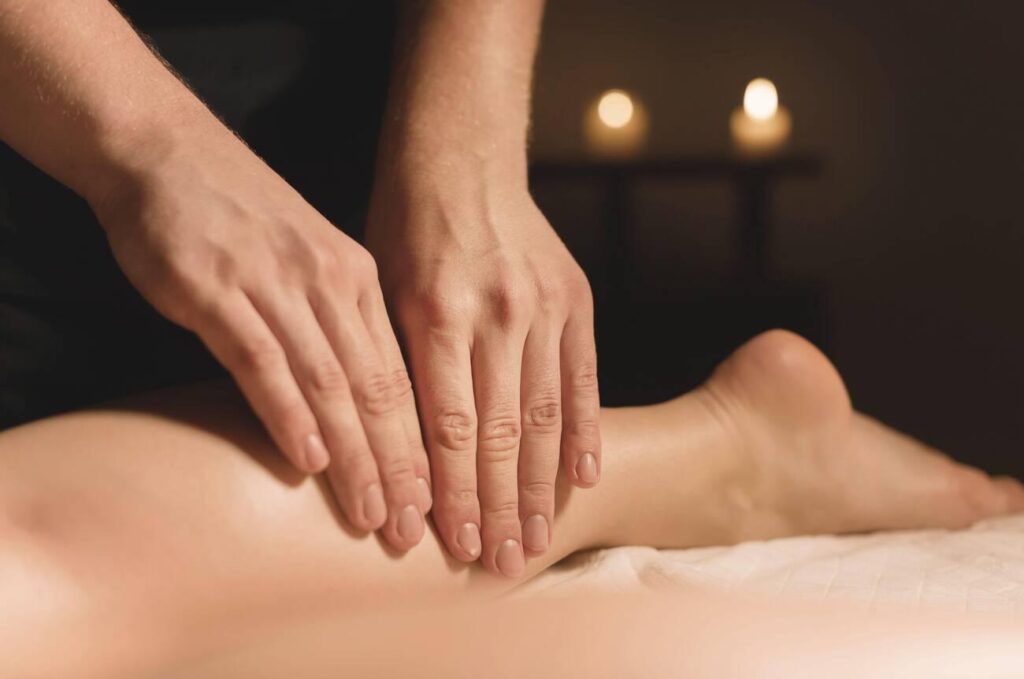
Step 6: Move to Your Legs and Feet
Your legs and feet are just as important as the rest of your body. Here’s how to do them:
- Start with your thighs: Use long, sweeping strokes from your knees up towards your hips. Apply pressure based on how much tension you feel.
- Move down to your calves: Massage your calves with your thumbs in circular motions.
- Finish with your feet: Use your thumbs to gently massage the bottoms of your feet. If you have a foot massager, you can use that to enhance the experience.
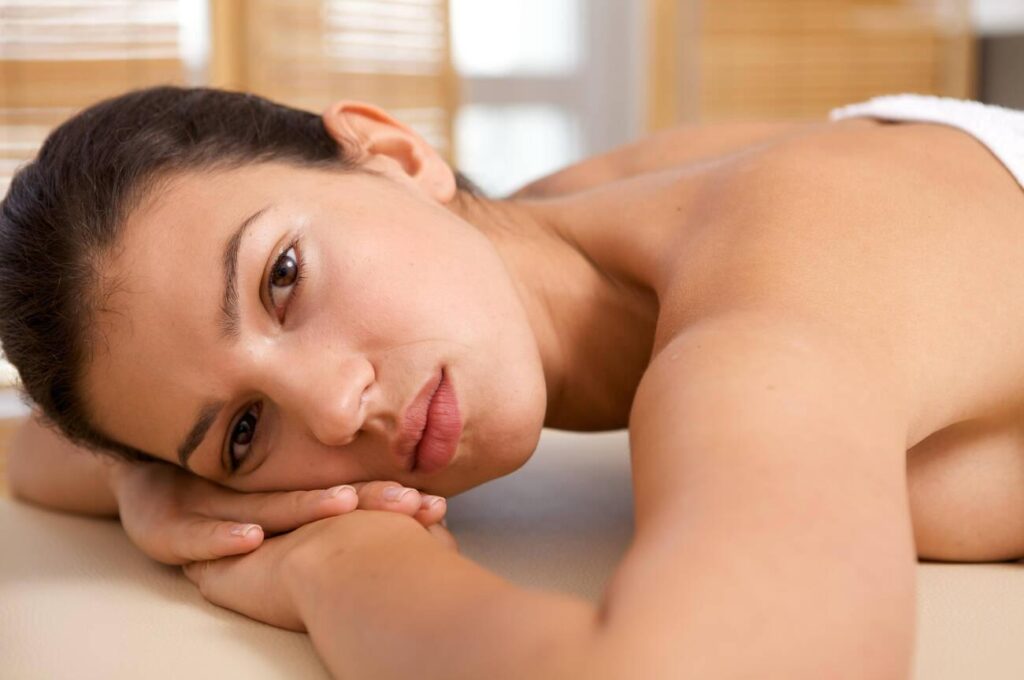
Step 7: Relax and Enjoy the Results
Once you’ve massaged all the areas, take a few minutes to relax. Lie down, close your eyes, and breathe deeply to enjoy the benefits of your self-massage. You might feel a bit sleepy, and that’s perfectly okay — it means you’ve successfully released some tension!
Benefits of Massaging at Home
Now that you’ve learned how to do a body massage at home by yourself, let’s look at some of the benefits you’ll enjoy:
- Improved circulation: Regular self-massage can improve blood flow and reduce muscle soreness.
- Stress relief: Massage promotes the release of endorphins, which help reduce stress and promote relaxation.
- Better flexibility: Regular massage can help with flexibility by loosening tight muscles and joints.
- Self-care: Giving yourself a massage is a great way to practice self-care and take some time for yourself.
Frequently Asked Questions (FAQs)
How often should I massage myself at home?
It’s generally safe to do a self-massage 2–3 times a week, but listen to your body. If you feel any pain or discomfort, take a break and try again later.
Can I use any oil for self-massage?
Yes! You can use any oil or lotion that’s comfortable for you. Just make sure it’s not too thick or greasy to avoid friction.
Is self-massage safe for everyone?
Self-massage is generally safe for most people, but if you have any medical conditions, injuries, or concerns, it’s best to consult with a doctor first.
How can I make my massage more effective?
You can enhance your self-massage by incorporating deep breathing, stretching, and mindfulness techniques.
Can self-massage help with back pain?
Yes, self-massage can be effective in reducing back pain by loosening tight muscles and improving circulation. Just be sure to avoid any painful areas or injuries.
Conclusion
There you have it! A comprehensive step-by-step guide on how to give yourself a body massage at home. With the right environment, oils, and techniques, you can enjoy the relaxing benefits of a massage anytime. Plus, it’s a great way to practice self-care and reduce stress. So, the next time you need to unwind, skip the expensive spa visit and try this DIY massage at home instead!